Earlier this month I bemoaned the black magic of baking in general, especially here in Colorado and at altitude to boot. Part of me wanted to give up, but then the guilt associated with doing so tugged at me.
Furthermore, I hate waste.
So when I made another batch of goat’s milk ricotta cheese on Tuesday night, I decided to give soda bread another go instead of throwing away the whey from that project.
Welcome to my first post with videos! I’m a bit more used to photography, so forgive my silly attempts as I learn more about making better ones.
This time, I switched up a few different variables:
- Added an extra tablespoon of flour
- Reduced the amount of baking soda by half (which seemed counterintuitive, but I did it anyway)
- Measured my flour using the spoon method (using a spoon to transfer the flour to the measuring cup, and then into the bowl)
- Made sure the ingredients all came to room temperature before I started baking
- Used my quick-read thermometer to check the internal temperature of the bread
My main resource for recipe adjustment at altitude is King Arthur Flour, in case anyone is interested!
Immediately, I noticed that this batter looked — and felt — a whole lot wetter than the first time I attempted the recipe. After working it a bit, the dough tightened up some but still looked blob-ish in the cake pan I used.
Funny side story: why a cake pan?
I knew I owned a cookie sheet; you’ve seen pictures of it on this blog. I only have one, and my kitchen is SUPER tiny. Yet, it had vanished. I spent a good half hour tearing the kitchen apart, knowing I hadn’t brought it anywhere else. At length, I threw my hands up in defeat and used the stupid cake pan.
(End funny story… for now…)
Traditionally, one bakes soda bread on a baking stone. I figured that a cookie sheet might offer a close approximation (shhh, I’m a baby baker, I know nothing), but the cake pan would do in a pinch.
Or so I hoped.
New mistakes this time:
- Didn’t trust the darned thermometer and cut into the loaf fairly soon after it came out of the oven.
- Didn’t realize that I shouldn’t poke the bread right out of the oven to check for springiness, because it’s not ready for that yet
- Didn’t remove the bread from the cake pan to cool on a rack with air circulation.
The below video hilariously shows that I had no idea what I was doing. I learned about this most recent pile of mistakes when reading more about ideal soda bread texture and consistency later on in the evening (a.k.a. midnight, when I really should have been sleeping before a work day).
So the loaf was really flat, and the crust thin. The structure looked a lot better, but the wet spots concerned me. My bad, the thing had to sweat out the steam before I cut into it. 🙄
Good thing I didn’t throw the sucker away immediately. To salvage the situation, I shoved the halves of the loaf back together and tossed it back into the oven for another twenty minutes.
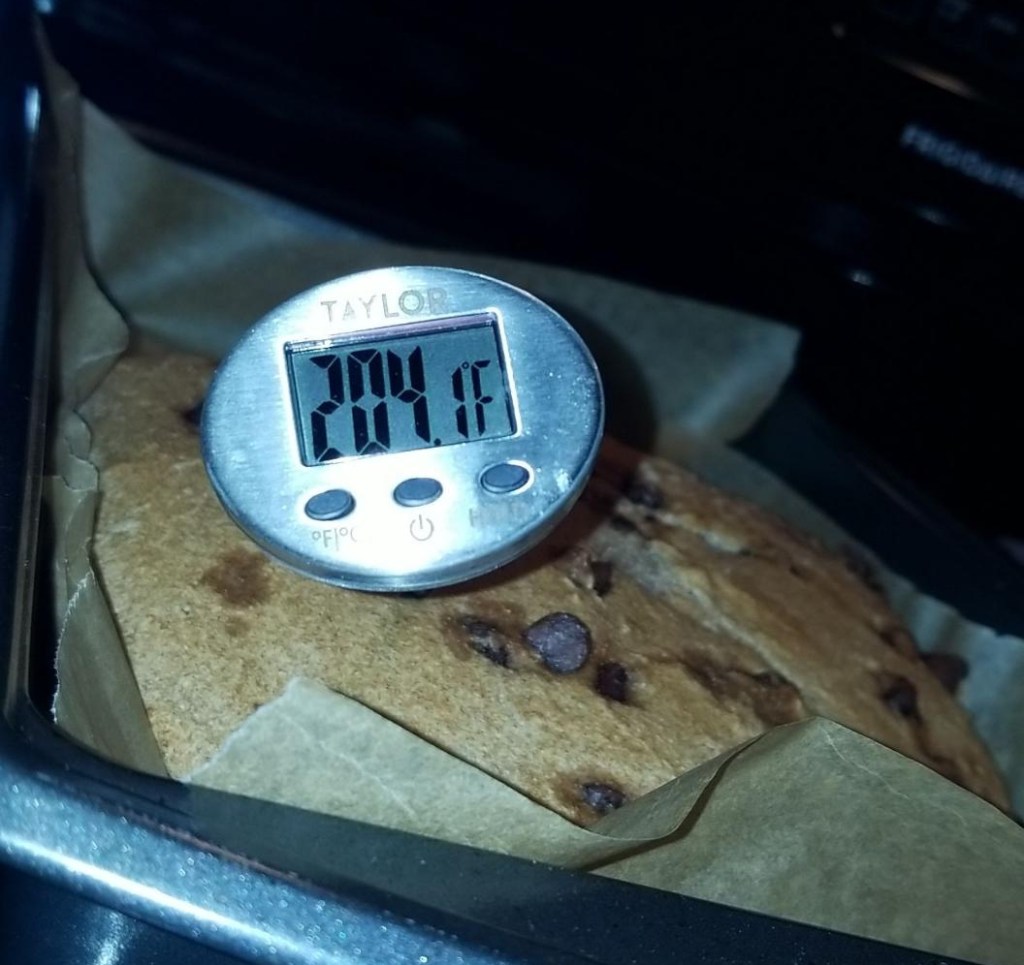
Then the hardest step of all: I made myself trust the thermometer. Ideal soda bread temp comes within 200-205°F.
Keeping the halves shoved together, I let the bread sit in the pan to cool openly for a couple of hours, and then I covered it with plastic so it wouldn’t dry out overnight.
The next morning, I gave the bread another gentle poke to test for springiness:
I cut crossways into one of the halves as a true test, and sure enough, the structure held and the bread had some spring to it! But how did it taste?
In my opinion, quite yummy, but I couldn’t take my own word for it and took some of the loaf with me that day to share with coworkers (and ones who will be critical if something isn’t right).
Overall consensus from my testers — tasty!
Despite this, I still wasn’t too happy about the loaf’s final shape and structure, so I decided to try it a second time to further refine my technique and recipe (which, yes, I will eventually post).
New adjustments:
- Halving the recipe, but keeping the “add a tablespoon of flour” and halving the already halved baking soda to account for altitude
- Trusting the thermometer the first time
- Putting the loaf on a cooling rack for better air circulation
- Knocking on the loaf to check for the “hollow sound” I apparently must learn to recognize
This time, for whatever reason, the dough had a drier consistency, much like my first (and highly unsuccessful) run.
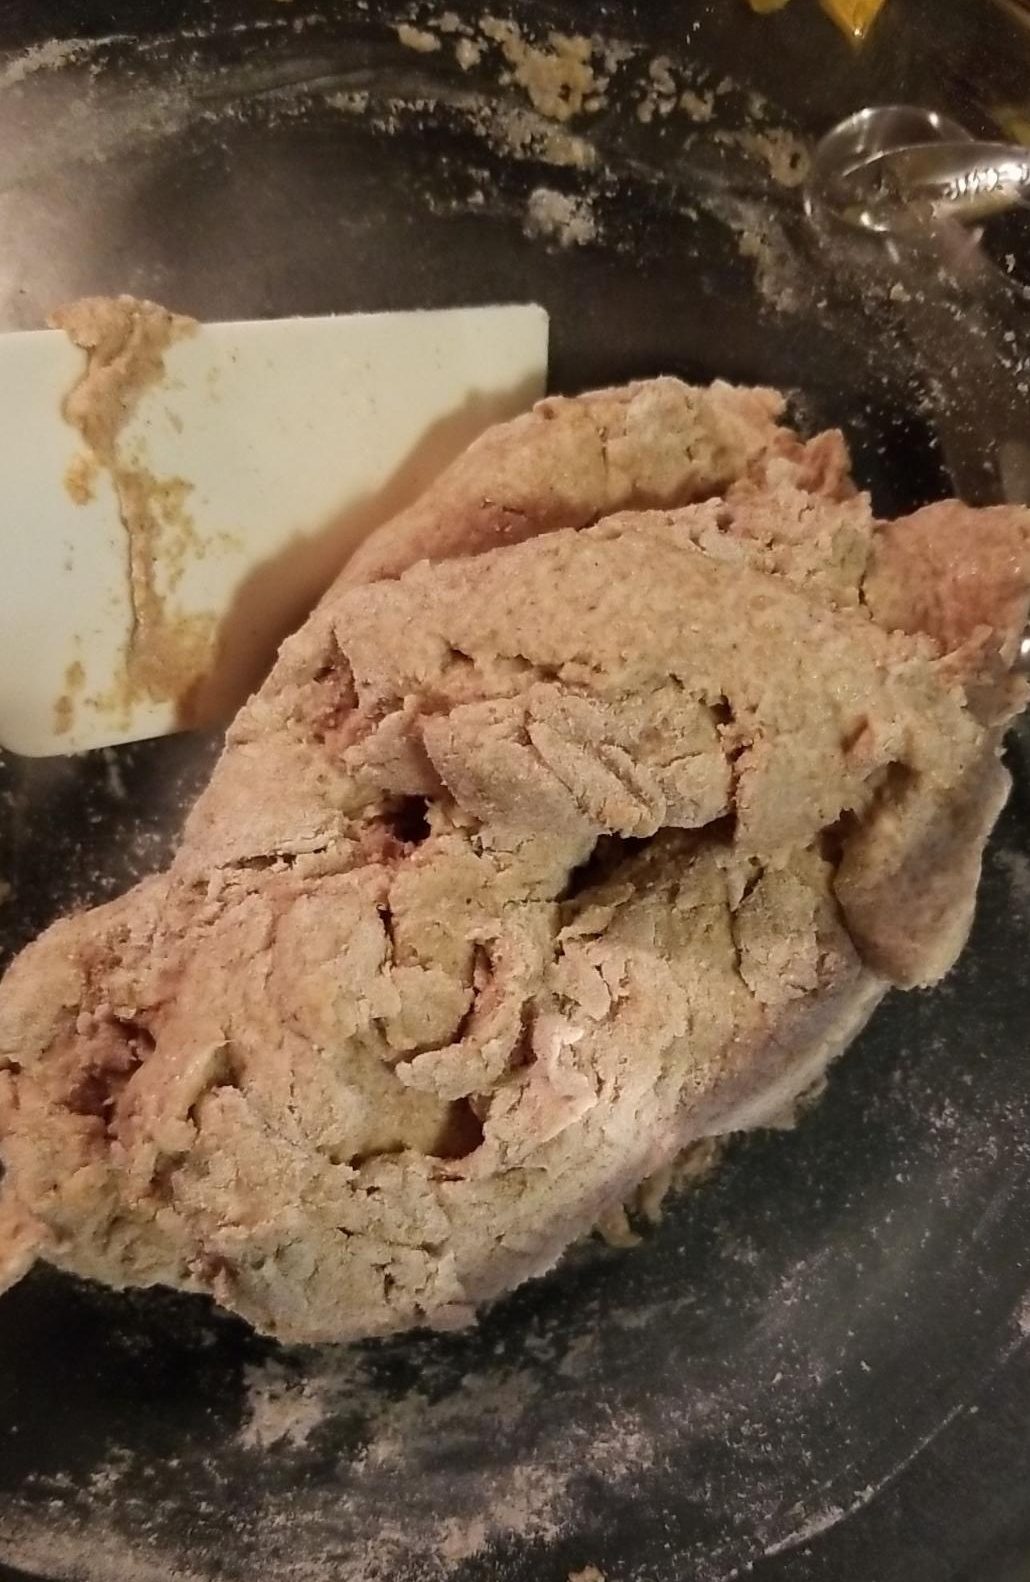
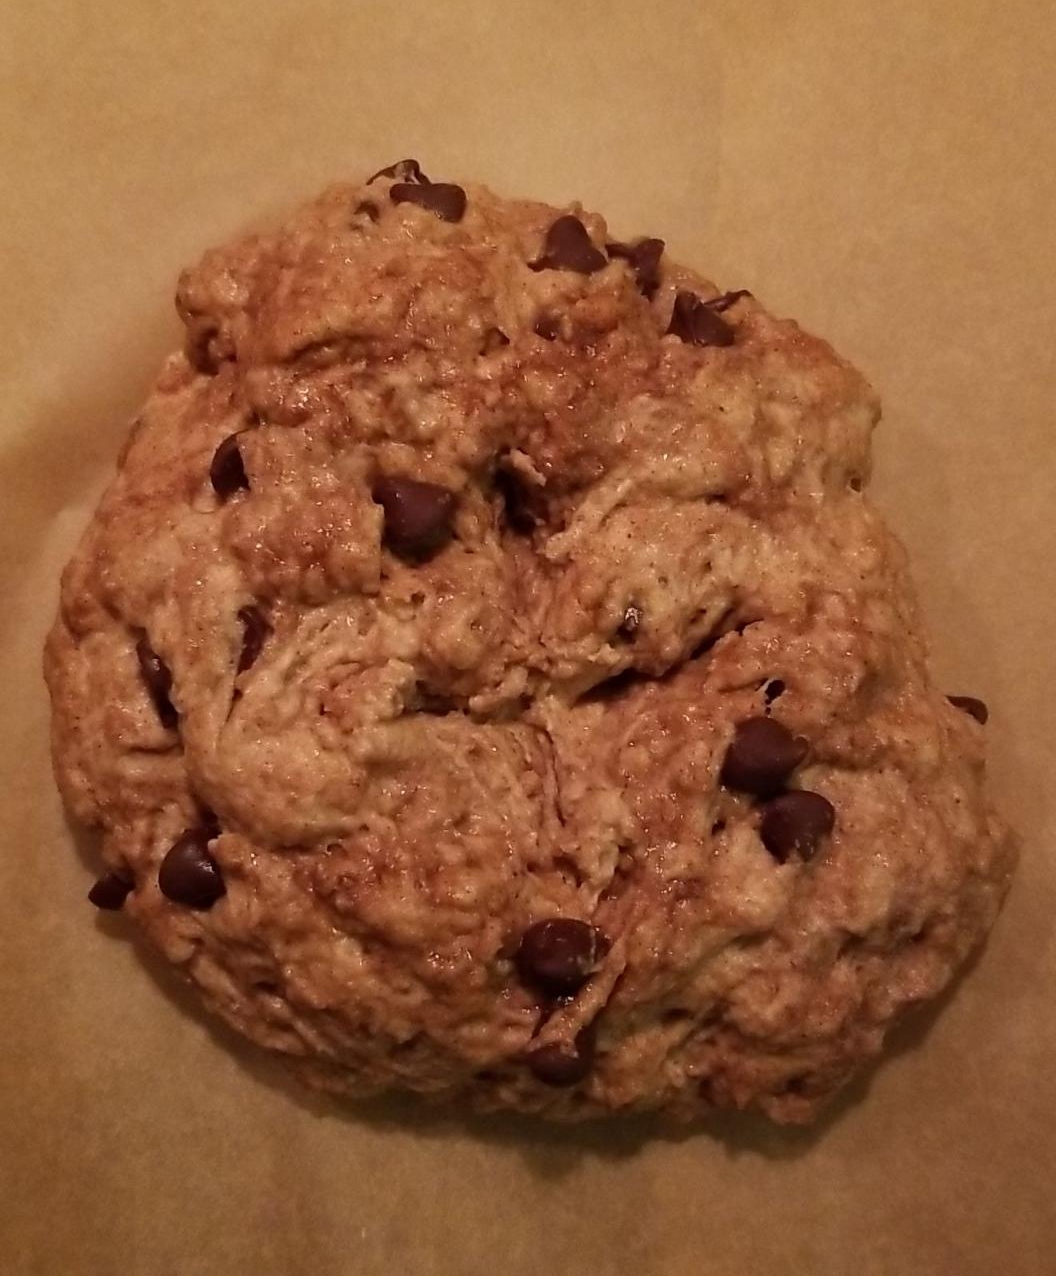
With that said, the dough turned out to be a lot easier to work and form. I added a splash more of liquid (a half teaspoon) before forming it and placing it on the cookie sheet.
Yes, the one I had thought forever lost. You see, I had a weird epiphany. The only, only places this thing had ever been was in the sink, in the dishwasher, in my oven storage, or in use in the Great Oven. So I thought to myself,
“Well… could it have gotten stuck in the storage somehow?”
Nope. Well, yes, but no.
Actually, because those below-oven drawers have dodgy reliability at the best of times, it turned out the stupid pan was under it. No idea how or when, but when I opened the storage one day, the sheet must have fallen out from behind the drawer and then under everything.
Ew.
Yes, I made sure to wash it really well before using it. Plus, parchment paper is my friend.
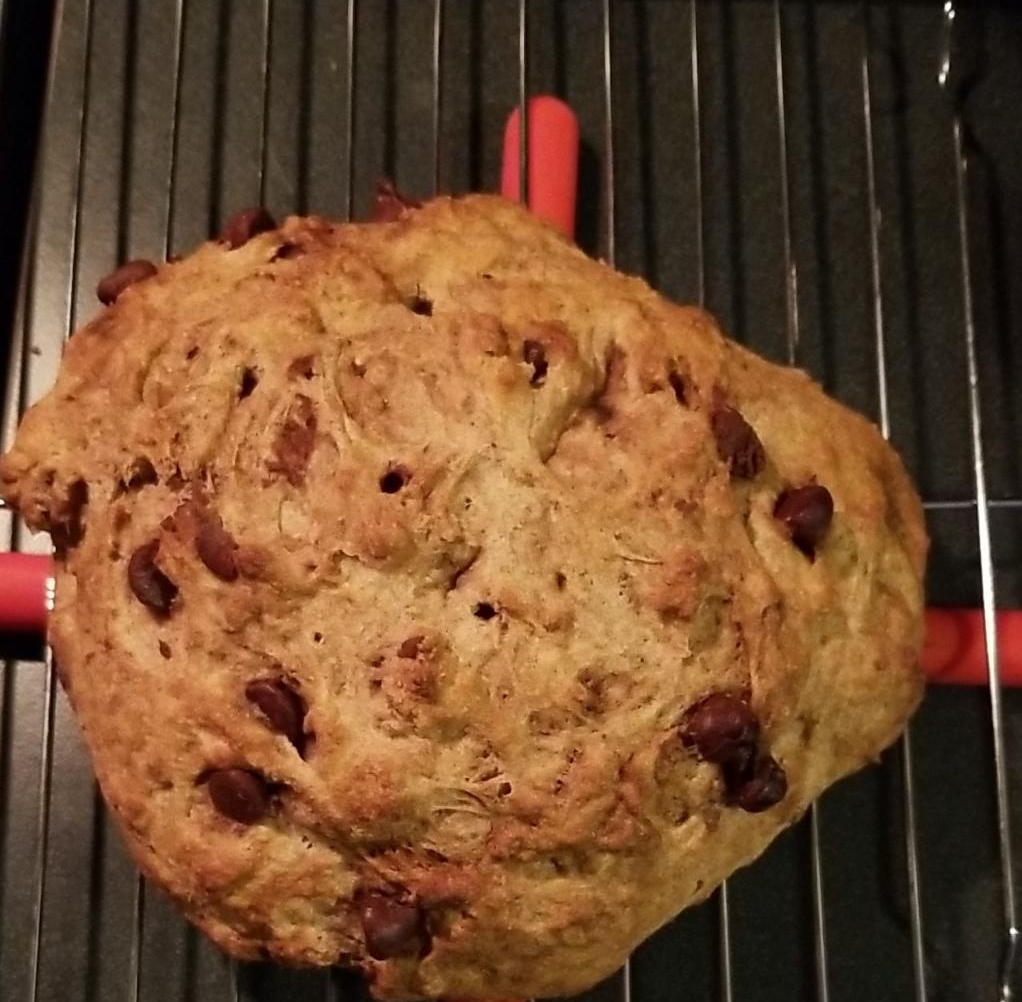
As I ramble back to my point, the cookie sheet seemed to work as well as, if not better than, the cake pan for my soda bread. The structure held beautifully, the crust developed much thicker and craggier (as it’s meant to), and the flavors were delightful!
Success tastes like chocolate and cinnamon.
And now, I’m off to bake this recipe for a third time this week, not only because I still have some whey left to use, but I also want to see if I can build some consistency.
What bread should I attempt next? Anyone interested in this quick bread recipe? Let me know in the comments.
