Last year I attempted to make radish chips as a healthy snack, but several variables ultimately led to an unsuccessful experience.
This year, I came ready and prepared for round 2 (and 2.5) as radish season fell upon my local farmer’s market once more. Breakfast radishes, while nice and mild, ended up far too small once they dried out to be much good, so I tried a different variety altogether for this newest iteration.
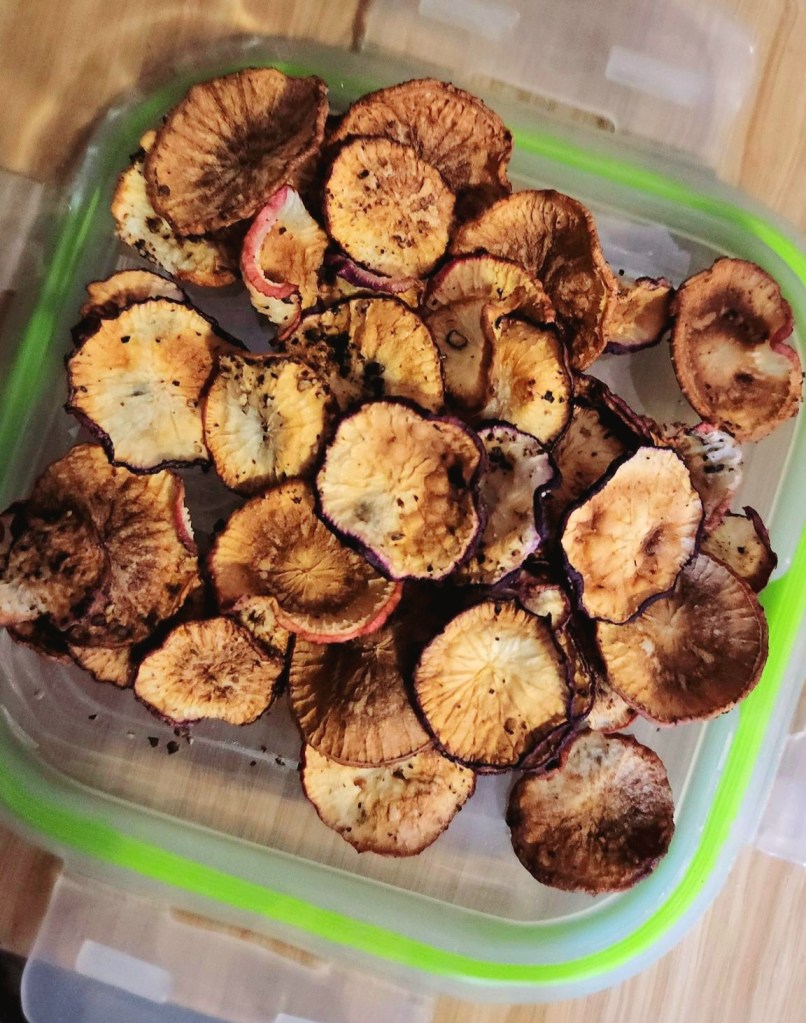
Easter egg radishes come in multiple colors and have a greater peppery bite than their breakfast-y cousins. In order to not overpower their natural flavor, I only added truffle salt for earthiness, fresh-cracked pepper for heat, and a dash of olive oil.

Like last time, I first placed the slices on a paper-towel lined plate and microwaved them on high for about one minute to draw out more of their water. Then I patted them dry, lined them up on aluminum foil in a baking sheet, and let them sit with the salt, pepper, and olive oil as the oven preheated to 360°F.
In they went to the oven for about ten minutes, after which I flipped them over to bake for another ten.
While this initial batch turned out much better than last time, I had these issues:
- Uneven drying times
- Some burned pieces
- Too much salt (oops)
For the second batch with Easter egg radishes, I made several changes:
- Slicing with a mandoline instead of by hand for more even slices
- Used parchment paper instead of foil to further draw out moisture
- Lowering the oven temperature to 325°F to better prevent burned chips
- Using a salt mill for more controlled seasoning in addition to my pepper mill

Final results:
- Seasoning turned out much more even and controlled, as expected
- Had to guess at how long to keep them in the oven, leading to some burning but not as bad
- All chips ended up nice and crispy around the same time
- I ate them all in one sitting 😅
The biggest discoveries included making the slices as even as possible with the mandoline, and also to take the chips out when they’re not quite completely dry. Chips which still had a tiny bit of give ended up finishing the process once out of the oven. Had I realized that fact sooner, I would have had a prettier result.
Will I try this again? Absolutely.
Was the end product worth it? Heck yes.
Once I figure the recipe out in finer detail, I’ll post it here. Wonder what else I can turn into healthy chips? Leave suggestions in the comments!
Thanks for reading! If you have ideas for future experiments, I’d always love to hear from my readers. Happy weekend!
