In my previous post, I talked about the preparation and process of dehydrating fresh produce. However, there’s a critical next step to follow, especially if you intend to store your project results long-term.
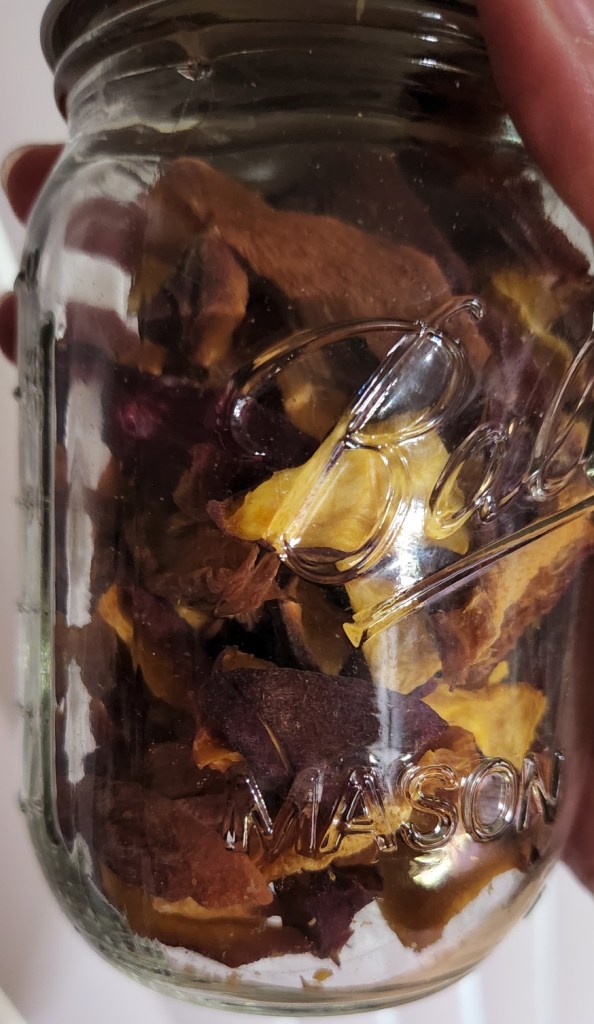
The good news is that conditioning does not take any special equipment, but using glass vessels such as mason jars work best (fewer odors, transparent, easy to sterilize).
Conditioning takes 7-10 days, and the steps are simple ones:
(1) Allow produce to cool completely prior to moving to pre-sterilized glass storage.
(2) Loosely pack storage container, leaving some room at the top, and seal with an airtight lid.
(3) Store container in a dark, cool area (such as a pantry) away from your oven, stove and microwave.
(4) Every day, vigorously shake the container, and check the contents for moisture or mold.
(5) If you see any evidence of condensation in the glass or on the produce, remove from container, give more time to dry on the dehydrator, and restart the conditioning process from step 1.
(6) If you see evidence of mold or fungus growth on the produce, throw the entire batch away and re-sterilize glass before using again.
(7) If you don’t see moisture or contamination in rhe sealed container after at least 7 days, produce can be moved to long-term storage. I’ll talk about this in my next post.
Now here’s the why behind conditioning: remember how I had to shift the trays while dehydrating, because not everything dried evenly? Same concept applies — conditioning helps even out any potential leftover moisture that you may not detect with your naked eye.
Thus, by shaking the sealed container, you’re preventing damp spots from developing or, if left too long, promoting mold growth. Shaking helps to even out moisture content between all the loose pieces, which is why you need some space in the jar.
Further, waiting until produce has cooled before storing mostly eliminates chances of the food sweating inside the glass. It can, of course, still occur, which is why we have to check it daily.
Want more resources on the conditioning process and its rationale? These proved helpful in my studies:
Next week, I’ll show my final steps for long-term storage. I’ve been having a great time preserving Palisade peaches so that I can savor them year-round!
What produce would you want to dehydrate? Suggestions on what I should try next? Let me know in the comments!
Thanks for reading — we’ll see you next time!
Want to contribute? Feel free to leave a comment or click here for more information.

One thought on “Dehydration Adventures — Conditioning”